Showing posts with label Crafts. Show all posts

Thursday, April 30, 2015

What the Best Dressed Doll Wears

And...here they are, the missing photos.  One with the detail of the tucks and lace, the other with the chemise and drawers?, pantelettes?,
whatever.  


And these are the the original photos from when I first started the project because I blogged about the pillow cover she's leaning against and which I think was a dumb post and a dumb project and the pillow cover is gone.
Well maybe I shouldn't go so far as to say that.  It was my first experiment on making one thing into something else, and it wasn't what I wanted after all. 

 Here is the post if you are interested.  

Thursday, April 16, 2015

Doll Fashions

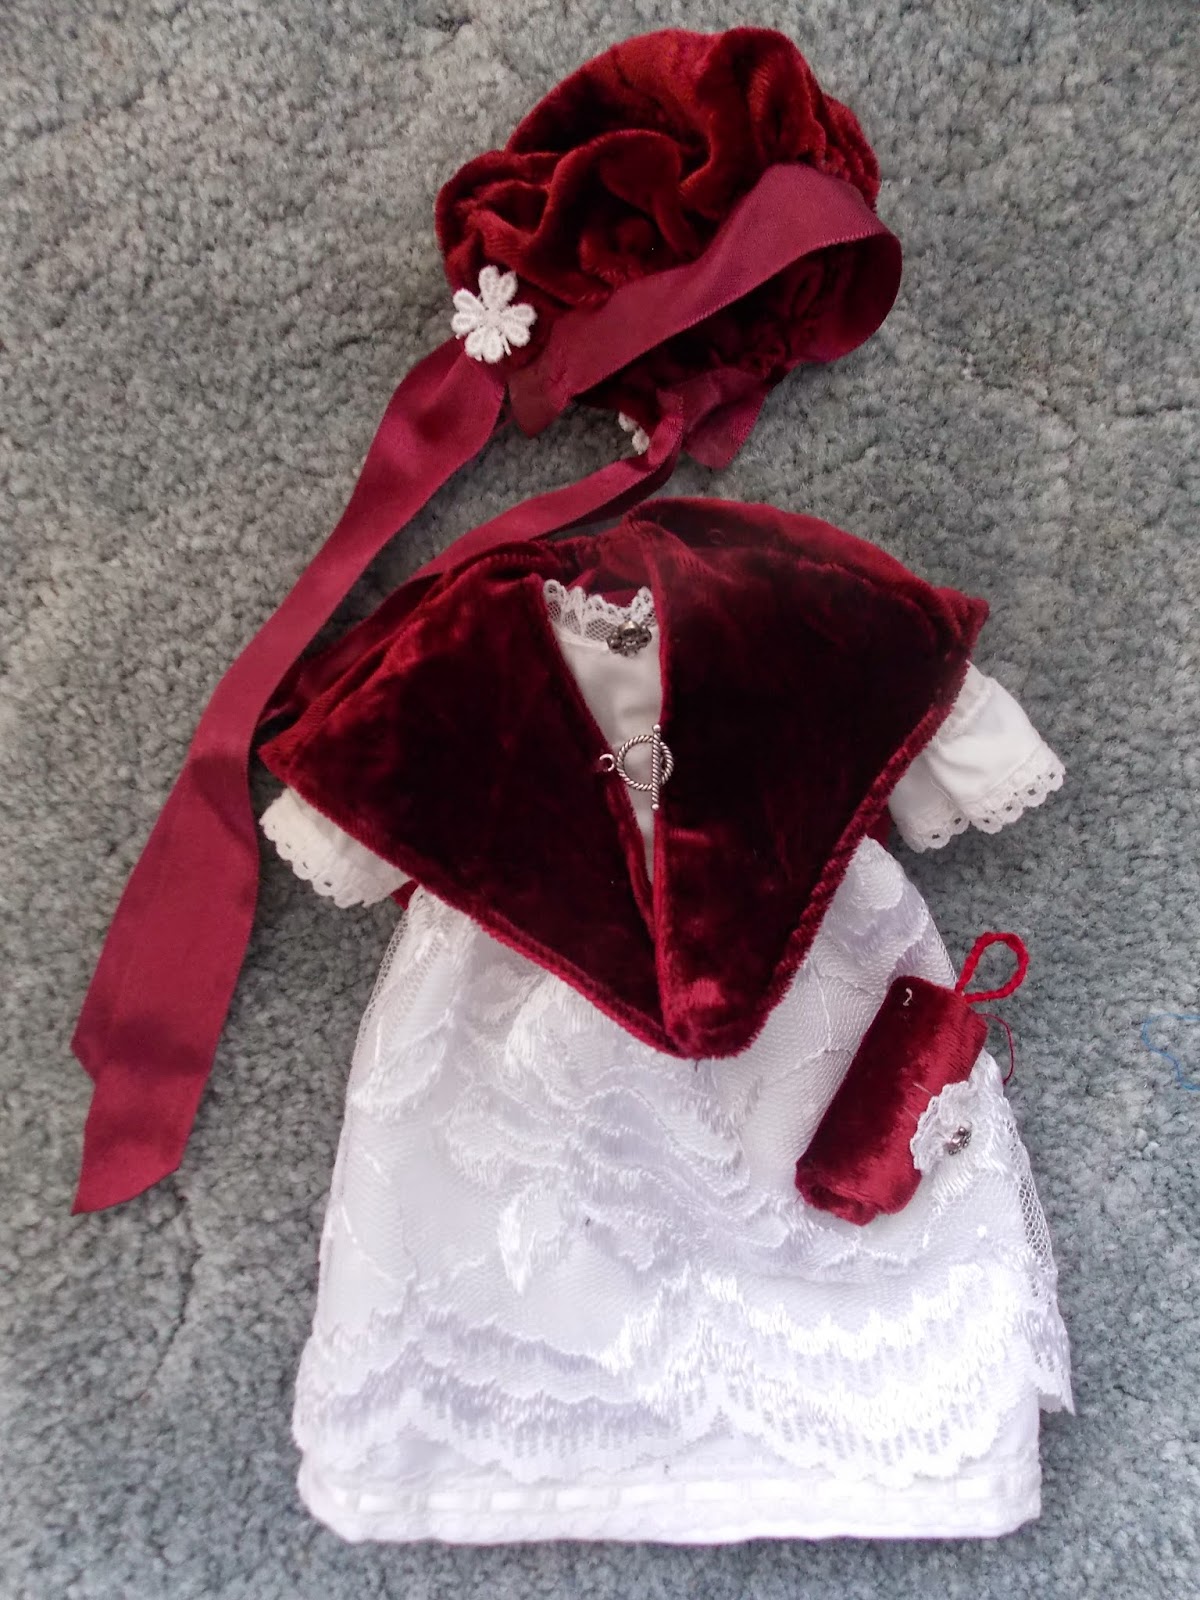
A long time ago, I sewed up the body for this doll and put her together, made her a petticoat, drawers and chemise and took a picture and I thought posted them on my blog.  As far as I can tell I didn't.
I spent the last two weeks, sewing up the wardrobe I cut out that long time ago, and of course, falling into the trap of making a couple extra things.  

Fancy dress

Back View 

Purse


Shawl Front

and Back 

 White Lace

Velvet Cape, Bonnet, and Muff 

Petticoats 

Second Best 

Summer Bonnet and Cape 

Work Dress and Apron 

Large Cape and Winter Work Dress 

Larger Cape 


Wednesday, June 5, 2013

Sweaters to Pillows

I am thankful for a great many things.  
One of the things I am thankful for is that I had a classical sewing education.  I started sewing when I was a little girl by hemming the skirt of a dress my mother made for me.  By the time I was in junior high I could make a jumper completely by myself following a pattern.  I was in 4-H and my mom was a master seamstress so I had good training from the start. 
I know you don't need to have this kind of education to use a sewing machine and enjoy making many things.  
What I appreciate is that I can wind bobbins and thread my machine without thinking it a chore.  I can sew clothes from a pattern without having to study the instructions. I can put in zippers, and make button holes.   What I appreciate most is that because I know what I can and can't do, I know what is "right" and what isn't, is that I can cut corners with ease.  

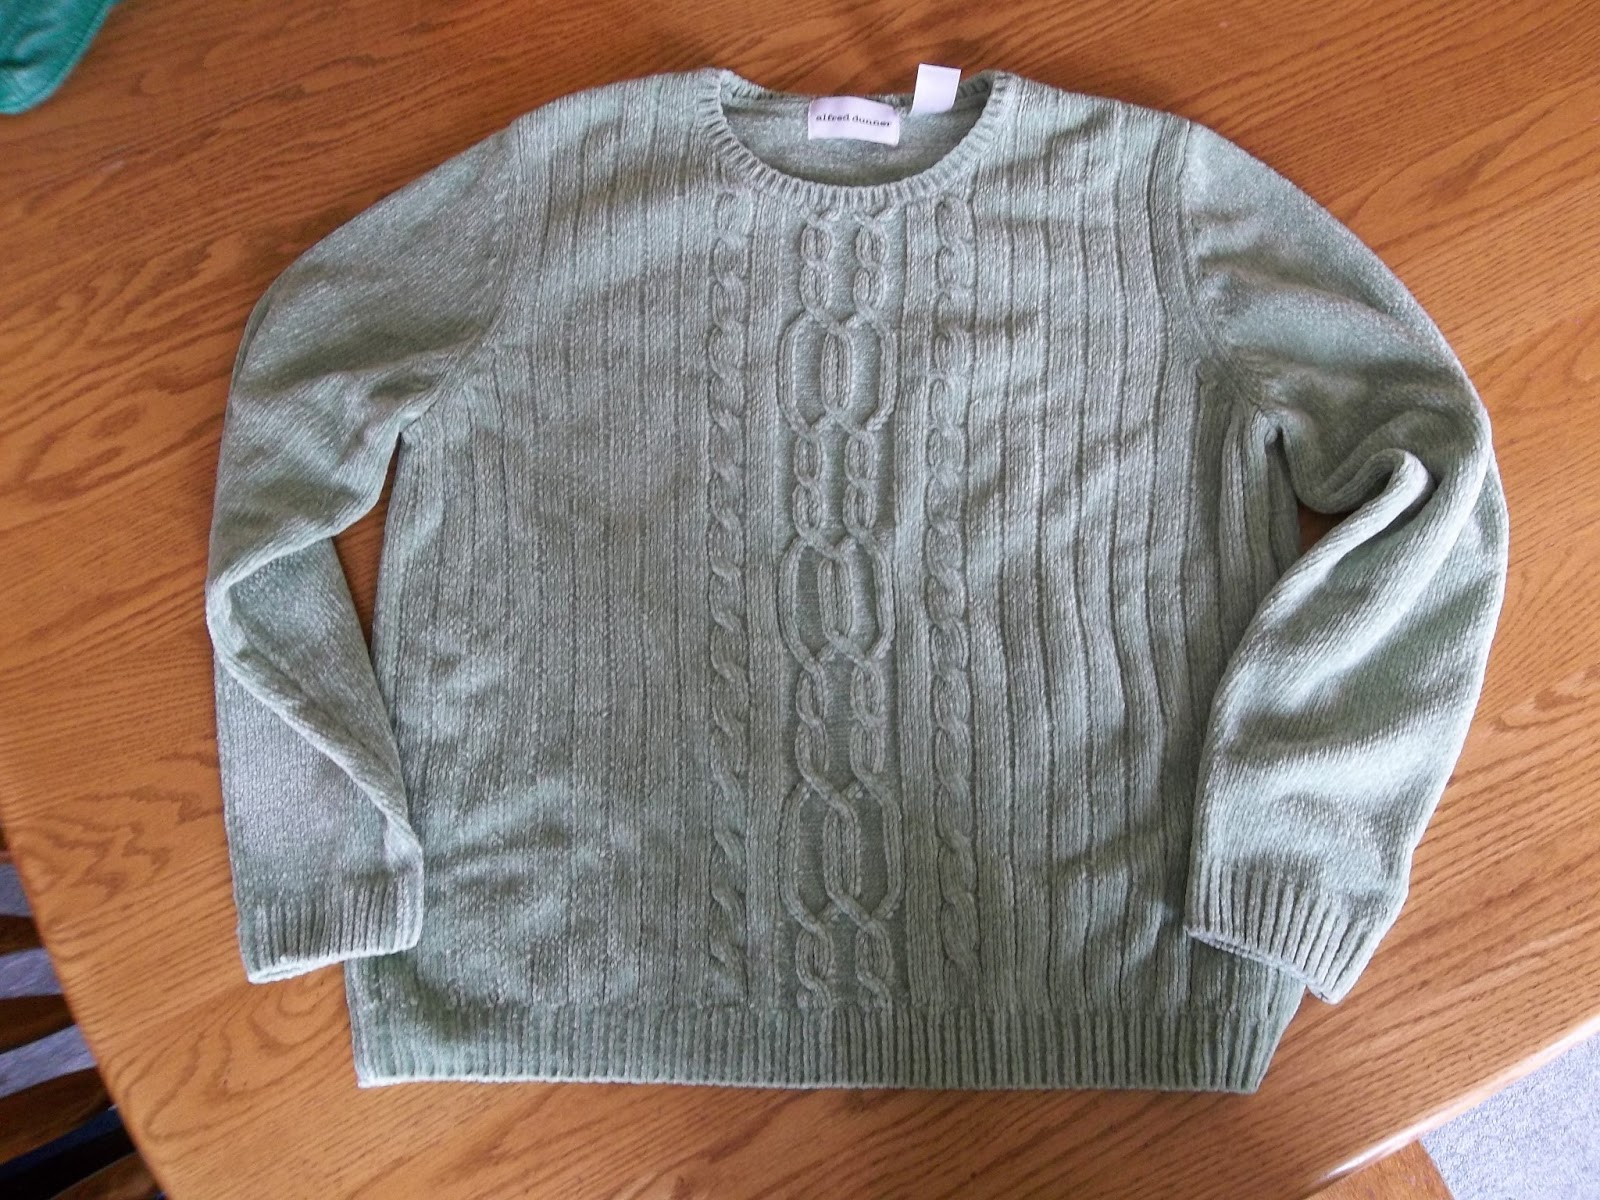
Anyway, I wanted some decorative pillows for the couch and after seeing other people make some out of old sweaters, I took myself over to the Good Will and found two sweaters that go well with my new look in the living room.  What I found is this gorgeous sweater and another very nice one, and name brands to boot.  
I've been putting it off for a couple of weeks so when I brought out the sweater to begin operations this week, I could hardly bring myself to cut them up, they were so nice.  No pilling, no snags, they looked good as new and I could hardly bear to think of cutting them up.  
So, while I knew they would make good looking pillows, it took a phone call to a good friend to remind me that I wouldn't want raggy sweaters to make good pillows. 
So, I just took a deep breath the dived in.  

This sweater is plain on the back.

 First thing is to cut off the sleeves.


Draw a sewing line and pin.


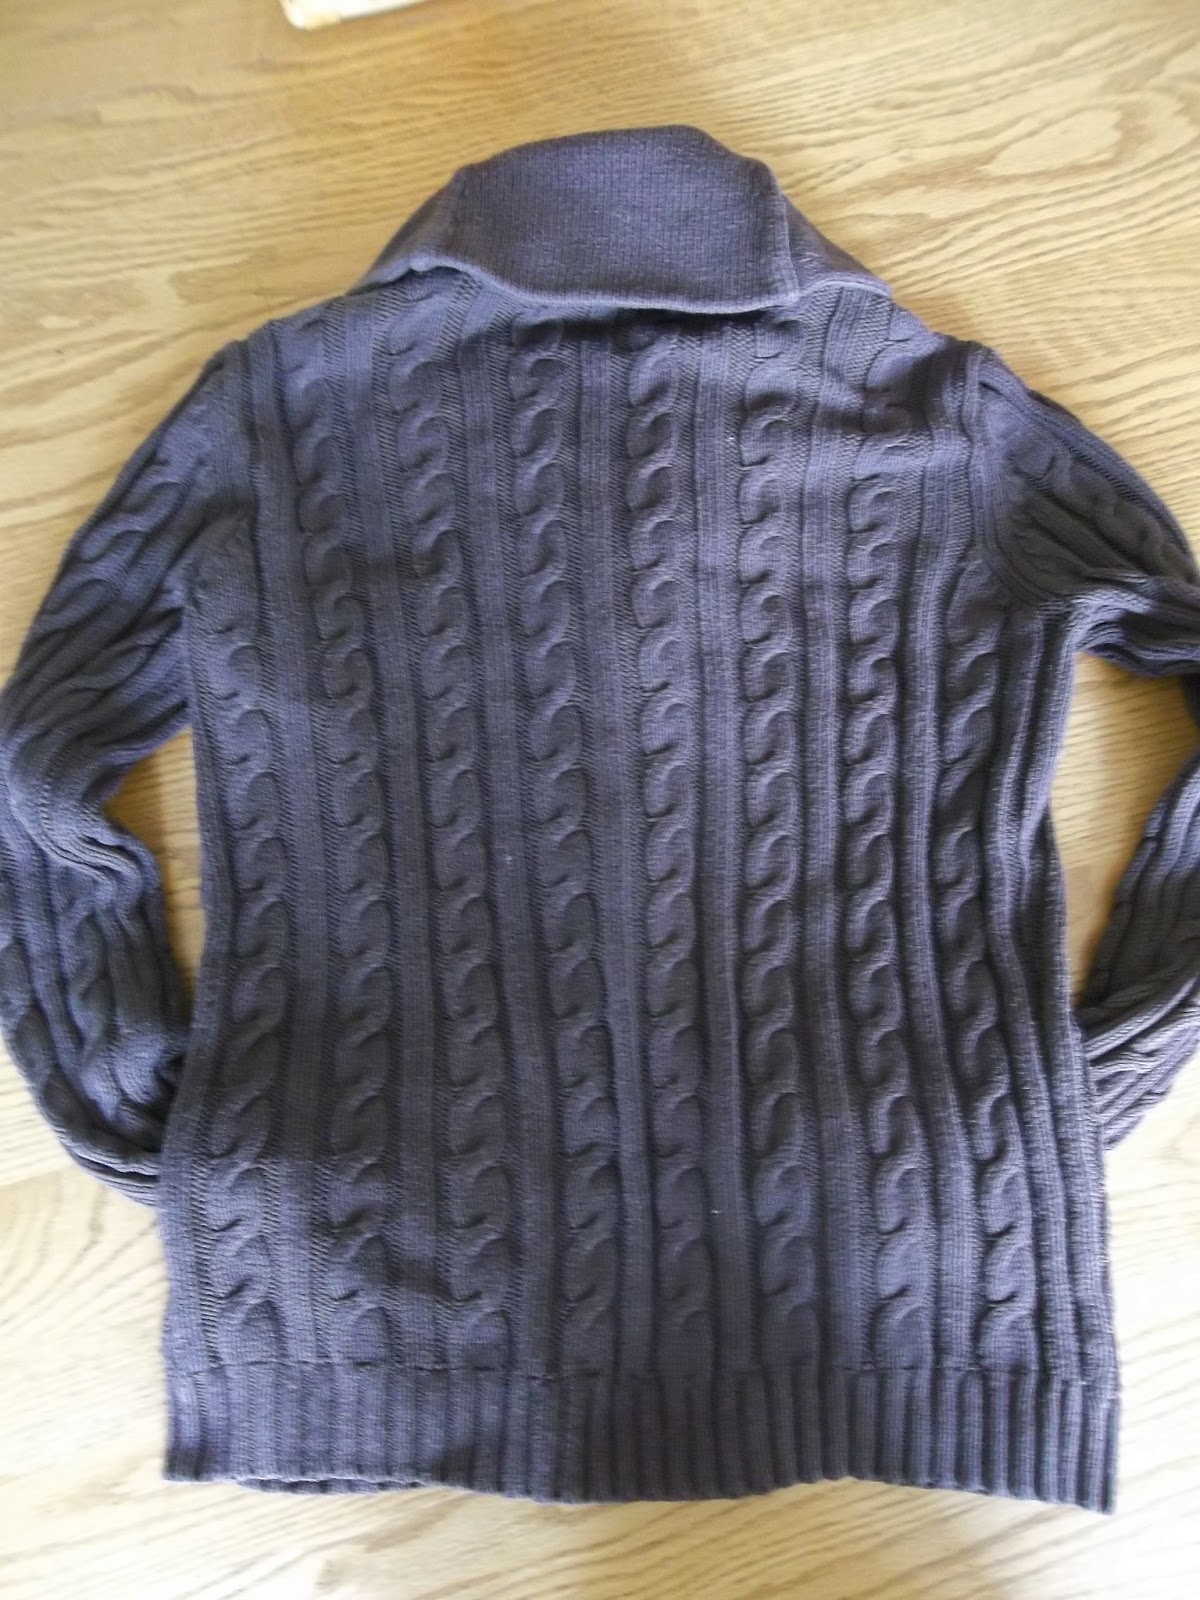
The second sweater was more challenging since it buttoned up the front.


Same pattern on the back.


I was just going to use the back and make a smaller pillow, but I decided today to use the front anyway.
I pinned and sewed the top, where I cut off the top of the sweater.  

Inside out. Ready to sew.


I sewed the sides a little narrower, then hand sewed the bottom, not really sure why, except it seemed easier with the ribbing, leaving an opening.  I sewed the front opening by hand before I stuffed it. 

After stuffing both pillows with long time stored fiberfill, I sewed up the openings by hand.  Here is another case for which I was thankful for my training.  There is a way to sew these openings closed so that you can't see the stitches.  So I took the little extra time to do that.
And they look very nice, if I do say so myself.

Back side of the brown. 

Front side of the brown.

I'm a great one for saving and reusing, but what I am finding is that I have so many things saved, that at nearly 50 years old, I wonder if I will have enough time to use up all the things I've saved.  
For example, this stuffing.  I don't know how long I've had it.  The worst of it is, I had second thoughts about using it, "what if I used it up?, what if I needed it for something else?".  I have got to be one of the worst for saving things for "sometime."  But. I am beginning to get it: I can always buy new if I need it. I want to use up some of this stuff.  I want more space, not more clutter. It just isn't going fast enough.  


Monday, January 30, 2012

Take One Men's Shirt

Do you know Pinterest?
That new online bulletin board that keeps my daughter online for hours at a time.
Trolling through hundreds of ideas for something fun to do, to make, to eat. 
I'm on Pinterest, too.  I have a few boards, I have a few pins.  I see what other people pin and I think, "oh I like that", and pin it.  I wonder if I will ever use what I see.

ANYWAY, my daughter found this skirt, 


ANYWAY, my daughter found this skirt, with a tutorial, through pinterest. Unfortunately, we ended up with a short-sleeved shirt so she learned a lot of things that the original tutorial didn't address.
Like, how to put a zipper in, and how to piece the back side of the waistband where it won't show, when you don't have enough material. 

This was one project she wanted to do all by herself.  Which she did by the way, with a little instruction about the zipper. 
It turned out very well.  


And she wore it very well.

I like this business of making old things new again.  It fits right into my "don't buy anything new, unless you really have to", philosophy.

I'm training her up right.

Saturday, December 10, 2011

Hit the Rails

 We have this project hanging around the house because we can't bear to get rid of it.  It represents a lot of hard work by our son. When our kids were in elementary school they were in a year-round program that started school in mid-July, had three week breaks between quarters and got out a week later than everyone else.  It was nice when all the kids were in elementary school together.  We took our vacations in March and October and in those breaks we were also offered some mini-classes for kids to help fill up their time.  They also offered some of these same classes in the summer and one summer I signed all the kids up for a week long class and the one I had Nathan take was railroad building, and what they did, was build a piece of scenery using the supplies and techniques that model railroad builders use.

When we saw the finished product we were astounded.  The quality of the work is amazing.  I had no idea Nathan was so talented with his hands. I think this was done in the year between 4th and 5th grade when he was 10.

I love this thing so much, I took pictures of it and am just now getting in a place where I can go back and look at them whenever I want, since someday, it will HAVE to be thrown out.  It measures about 12" wide and 16" deep.  We even found a little trolley car thing to ride on the rails.


View from the top

Down in the Valley


 Close-Up

Rugged Terrain


Close-up Again


Over the Top

Thursday, October 28, 2010

One Cool Mama

I had the nicest compliment this weekend.  Lynette informed me that all her friends think I'm "cool".  Now how many of you people out there are cool?  The sad thing is that most of the time I wish I was cool. 

Temperaturewise that is.  My family is already complaining that "they are freezing to death, it's fall, and isn't it time to have some heat around here" and I'm running around wondering what more I can take off and still be decent. 

Anyway, back to the coolness factor.

 I'm cool because I make my daughter breakfast every morning. 

I'm cool because I'm a stay at home mom, and I'm home when she comes home from school.

I'm cool because I let her and her friends take over the kitchen to tie dye and not only do I take pictures but help, advise and want to dye, too.

And I'm cool because we eat supper together at night.

I'm probably also cool because I actually let three extra girls stay for the weekend for my daughter's birthday.  Lynette has discovered how neat and easy it is to tie-dye with a purchased kit so here we are getting ready to MAKE A MESS and have fun doing it.


First cover the entire kitchen floor with a painter's drop plastic.  (I guess this is after you twist and rubberband and whatever your items to dye.

Then after mixing the dye, squirt the cloth with the cute little squeeze bottles provided. They squirted over plastic bowls to catch excess dye.


Then wrap the t-shirt in plastic wrap to sit for 6-8 hours to make brighter colors. We left ours overnight.


Before wrapping.


When Lynette tie-dyed in her art club they tried several different ways to dye t-shirts.  One of which was a splatter method.


And then when it is all over it's time to clean up.  It comes off the floor and counters alot easier than it comes off hands and feet.


A final note:  The last thing you do with tie-dyed garments is wash them separately in hot water and dry them.  And I wonder if separately could have meant from other clothes not each individual shirt, of which there were about 8.  And 8 different loads (well, loads isn't really the term) while I'm getting ready for 50 people to come potluck at my house wasn't really very convenient.

Especially since the dyed clothes were sitting on my dining room table.

But one nice thing about being so cool, is that it didn't really matter, it all got cleaned up in good enough time with no one losing their temper, and we had a very nice time with their company.

And a FINAL final note: One of the girls that stayed over, said among other things, "your house is so nice", "it's cozy", "it looks like people live here", "you don't have to worry about things". I'm taking that as a compliment, because we DO live here, we have lots of company here, and that means our house is only clean enough to keep the health inspectors at bay.

The finished product!